Monday, June 27, 2016

Low Budget Kitchen Makeover

     My husband and I kickstarted our crazy busy summer with a kitchen makeover on a very low budget. When we moved in to this house I wanted to renovate everything and we even picked out a brand new kitchen from Lowes, cabinets, countertops, the works! Then life happened. We ended up having to spend the money we set aside for a $10,000 kitchen elsewhere and the project got put on hold for well over a year. I painted the cabinets last summer, a creamy country white that I ended up hating! It was my second time painting cabinets and I definitely learned from my mistakes. We bought a paint sprayer when we painted the dinning room and the most beautiful gray paint I ever laid eyes on. Valspar Signature, Woodlawn Colonial Gray. I am still obsessed with that color, so much so that I decided to use it on our "orangey" oak cabinets I already "primed" with a crappy country white. The color turned out beautiful and I love it even more. With that said, the paint for the cabinets didn't cost a dime because it was left over paint from the dinning room. We then had to decide what to do with the countertops.

     In our dinning room we have a fireplace mantel I built in my early 20's that I turned into a chalkboard with salvaged slate. The mantel is painted white and distressed. The gray with the white and "black" chalkboard gave me inspiration for our whole kitchen. I fell in love with soapstone countertops but loathed the price tag. We have a mortgage, four kids, a dog (soon to be two!), two car payments, the list goes on... We definitely didn't want to fork up the money for the real deal but both agreed that black countertops were the way to go but painting them with regular paint seemed like a dumb idea and I really didn't want to try any of those faux granite treatments. So we decided to do something risky, and probably nuts but its another thing I have love for and the root of my inspiration anyways so chalkboard paint it was! And it worked great! The countertops were originally white with 80's pastel specks, just ugly! I covered them with adhesive laminate a year ago which worked great for the year we had it but was not easy getting off. We learned that using a hairdryer to "melt" the glue made the process much easier. Just a tip to throw out there!

     While painting the countertops with chalkboard paint, be sure to use a smooth roller, it will make all the difference. More than one coat also does as well. They had to be touched up the next day from the backsplash installation, but they ended up looking great. My husband wants to do a clear coat on top just to lock in the paint, but we haven't had the chance to do it yet. I personally don't think they need it but will do it to ease his mind haha! Speaking of the backsplash, I finally got my white subway tiles!! I also went with a silver grout to go with the cabinet color. I painted the kitchen walls from a buttercream color the "flipper" used to a very faint gray, that sometimes even looks white. I just love those neutrals! I think it turned out great and so did our guests for a graduation party that was being thrown at our house just two days after we started the project! Yep, we are crazy but we got it done and completely by ourselves, just my husband and I. For two people who have never installed backsplash tile or even cut tile with a wet saw before, I think we did a pretty good job! Even though they're not perfect, we have so many new memories and laughter to go with it:) Plus I finally have a kitchen I love! Only thing I need next is a new kitchen floor, I already picked that out but thats a new project for a much later date. Altogether, our kitchen makeover cost us $545.00!! That also includes the wet saw and other tools we had to buy. I'd say thats pretty cheap to completely change the look and feel of a kitchen. 


Before...


During...


Don't mind the dirty dishes, had to turn off the water haha!!


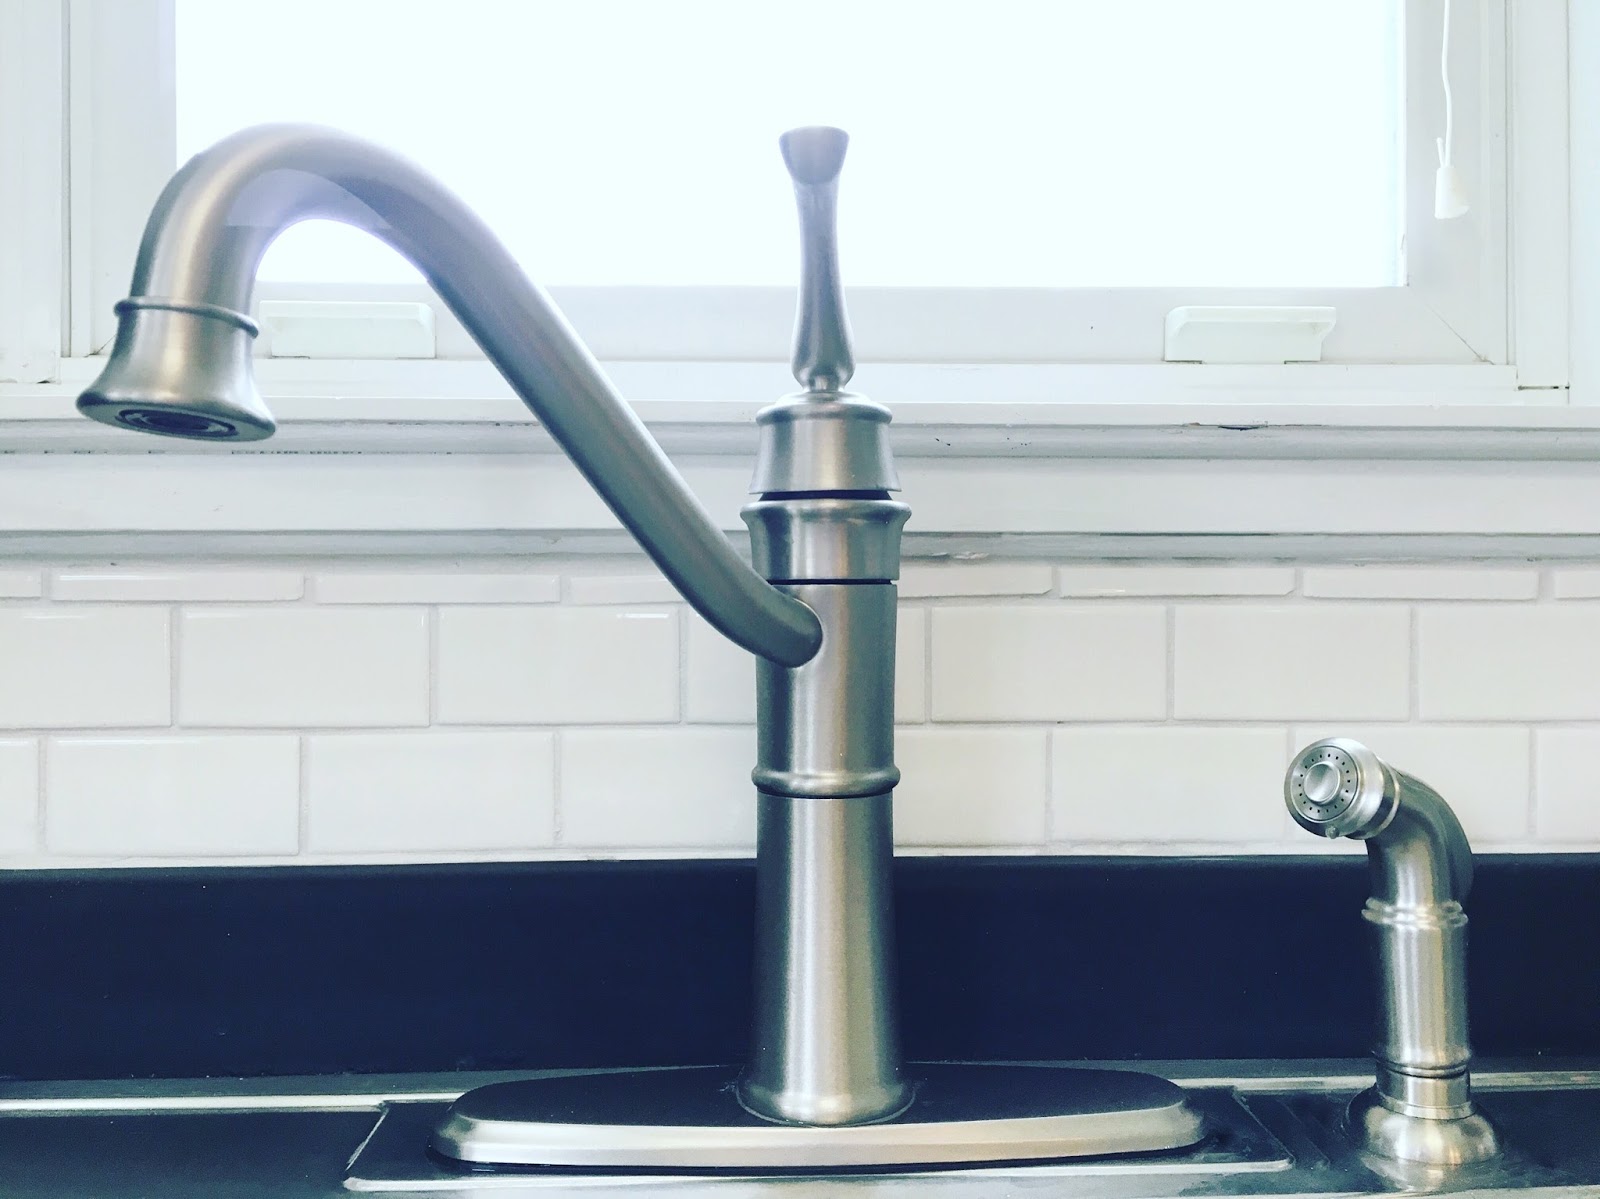
And that's why the water was off!! ;)

Loving it!!

After...

We are waiting for the cabinet door knobs that match the industrial pulls...

Got that cute little vintage wooden stool from a yard sale my neighbor was having that day for $1!! 


Yep, the pulls are crooked ha!! He tried.

My "microwave stand" is so out of place. Looking for a replacement!

Ah so thats where the teething gel went!

This wall was too empty for me so we made a sign from left over trim 
from the dinning room, a black sharpie marker and stencil!!

Excuse my coffee rings!

Don't look at my garage!! lol, getting a good clean out for the graduation party!

AND that is Jack!


Thanks for stopping by!!


Thursday, April 28, 2016

DIY Pallet Headboard for Under $20!!


For the longest time I wanted to build a pallet headboard, but couldn't find the right plans for the one I envisioned on my DIY bucket-list. Yes, I'm terribly corny and created one as soon as we moved into our home;-) I'm not one to really use plans or follow them anyhow so I just followed my instincts and here is what my husband and I put together...


The "scratch look" and imperfections are two things I was really striving for. Nothing seems to fit, but everything flows together nicely like a pallet puzzle. Putting the boards together in the "perfect" spots took more than a few tries, but we really are happy with the outcome and it ended up being everything I dreamt about:)


Each pallet board has a different shade to it, a different imperfection, scratch, dent, mark, and just full of texture and history. I love that!


We haven't attached it to the frame (or wall) yet because we are going to paint the walls, build a new wood bed frame out of scratch and possibly a footboard to match the headboard. 


We attached bolts for appeal and function and spray painted them copper for an unexpected accent.
Each bolt cost $1 each and the copper spray paint we already had but originally cost $4.


I think it is safe to say that I may have a new love for copper.


It has almost a rustic fireplace mantel look to it that I am currently obsessing over!

If you love it just as much as we do, keep scrolling and we will show you how we did it!


Just a girl and her dog admiring the view!! :)

 Let's get started!!

First and foremost... If you don't have any pallets, you'll have to find them. A lot of retail businesses will stock them up behind their building for trash pick-up. Perfect opportunity to snatch them up. If you aren't 100% sure, ask an employee or manager if you can have them. There are plenty of places to find them if you know where to look. Craigslist is a great place too! Most times, they are in the free section!!

After you have collected a stack of pallets (we used all different types and sizes), you will have to take them apart. It can be time consuming, a lot of work and kind of tricky if you've never took apart pallets before. I like to use a flathead screw driver, a crowbar, and a hammer to do the job. Make sure you have a fairly decent amount of pallets because taking them apart can make some of the boards unusable. If you have a little bit of wood splitting or damage, don't worry, a lot of the boards can be sanded down enough to be used. And we like the imperfections anyways;-)


After you pick all your boards out that you want to use, sand them!


 Next, you will either want to make a frame or find a base to work on. 
We decided to use an old piece of plywood left over from another project to attach the boards to.
I cut it down to size for a queen sized bed headboard. Most standard headboards are 64 inches wide. 
I made mine 48 x 64 in.


Next, you will want to measure out all your boards to cut and fit on the plywood base.


We decided to use an old board left over from another project that was weathered pretty nicely into a "barn wood" shade as the top of our headboard. We decided to cut it to "hang" off the base 6 inches on each side.


Our table saw did the job nicely.


We decided to use wood glue to attach the boards to the plywood.


If you are going to buy Gorilla glue "white", I recommend getting 6-8 of these small bottles if you can't find the larger ones. You are going to need a lot of glue!


We used large clamps to help hold the board down a
nd add the pressure we needed for quick,even drying. 


After we were finished with the top board, we cut and glued the side boards that frame the headboard.


After you "frame" out the headboard, place your pallets on the plywood where you like them. Once you figure out your "pallet puzzle", cut, place and glue. CPG! You shouldn't need the clamps to hold down the pallet boards, but pressure is key to drying. We put 15-20lb weights on top to keep them down while the glue dries.

You will notice that the boards at the bottom run off a bit. We decided to leave it as is in fear of the delicate wood splitting. (plus my mattress will cover the bottom anyhow ha!)...


Once you are finished attaching all your boards to the plywood, figure out a way to elevate the headboard so you can get under it rather than behind it to keep the boards in place while you complete the next step. You should use wood horses but we improvised with the oversized coolers we had in the garage. Sometimes you just have to use what you got!! 

This next step is very important... securing the pallets!!


We decided to use a staple gun instead of a nail gun (or hammer and nails) to fasten the boards onto the plywood from the back.


Make sure you staple all the boards to the plywood. 
You can never go over board with securing something!!


Don't forget to cut or sand off any excess plywood!! (or measure correctly haha)  Or you will have this boo-boo.. >.<


But, its ok because we are going for imperfection anyways!!


You will want to "round off" any sharp edges and corners of all your boards if you haven't already. 
It is always good to sand again before your finished!!


This board was a "must use" with all its character!


Make sure you sand enough to be able to run your hand across all the boards without getting any splinters!! Keep sanding off those corners!! The smoother the better and safety is key!!


Once all your measuring, cutting, sanding, glueing, stapling and sanding again is finished, admire your work haha..


Next major step is to attach the "legs"...
We couldn't find the wood we needed so we bought 2 by 4s in pine (they will be unseen so no need for staining, weathering, painting, etc...)


Pre-drill the holes in the frame for the bolts we will use for appearance and function.


Then pre-drill the holes in the "legs"...


We decided to use copper spray paint we already had for the bolts.


Of course, do that step outdoors!

Finish pre-drilling for the nut & bolt then sand out the edges (something I wish we did better haha!)


Once that is all finished, attach the legs with nuts and bolts (copper painted). We used 6 altogether, 3 on each side. Only 2 are really visible once the headboard goes up and the mattress covers the others, so you can attach these closer together if you want them all to be visible on the frame.


After everything is attached, you are finished!! 

I am absolutely in love with the result and can't wait to finish the bed frame 
and maybe even a footrest to complete a whole bed!! 
The best part about this project is that we spent under $20 to complete it!!


The one thing I love most about this headboard is that my husband and I created it.. I almost want to carve a heart with our initials in one of the boards!!


Thank you for taking the time to share the experience of my dream pallet headboard project!! 
Hopefully sometime soon I will have a Master Bedroom Makeover post to share as well!! 
I'm off to cross more projects off my bucket-list!!
Happy DIYing!!